
Document both lamps and their installed functions
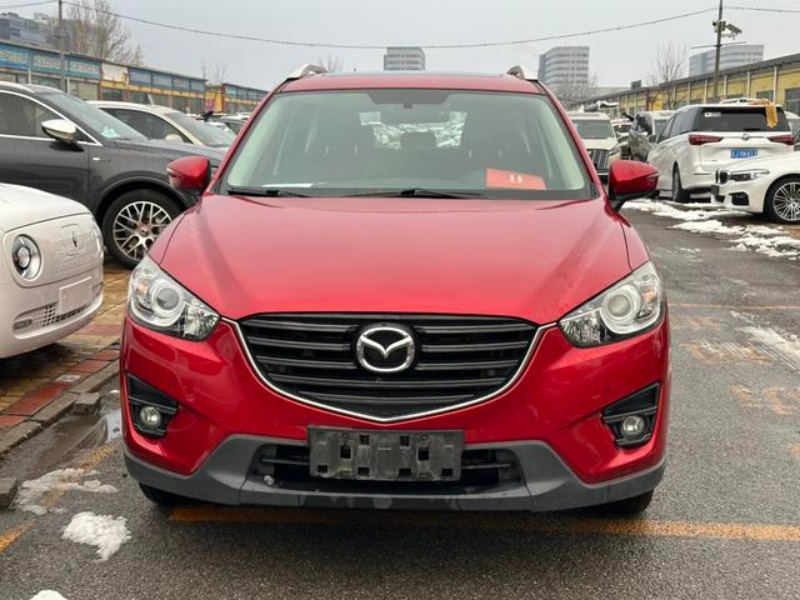
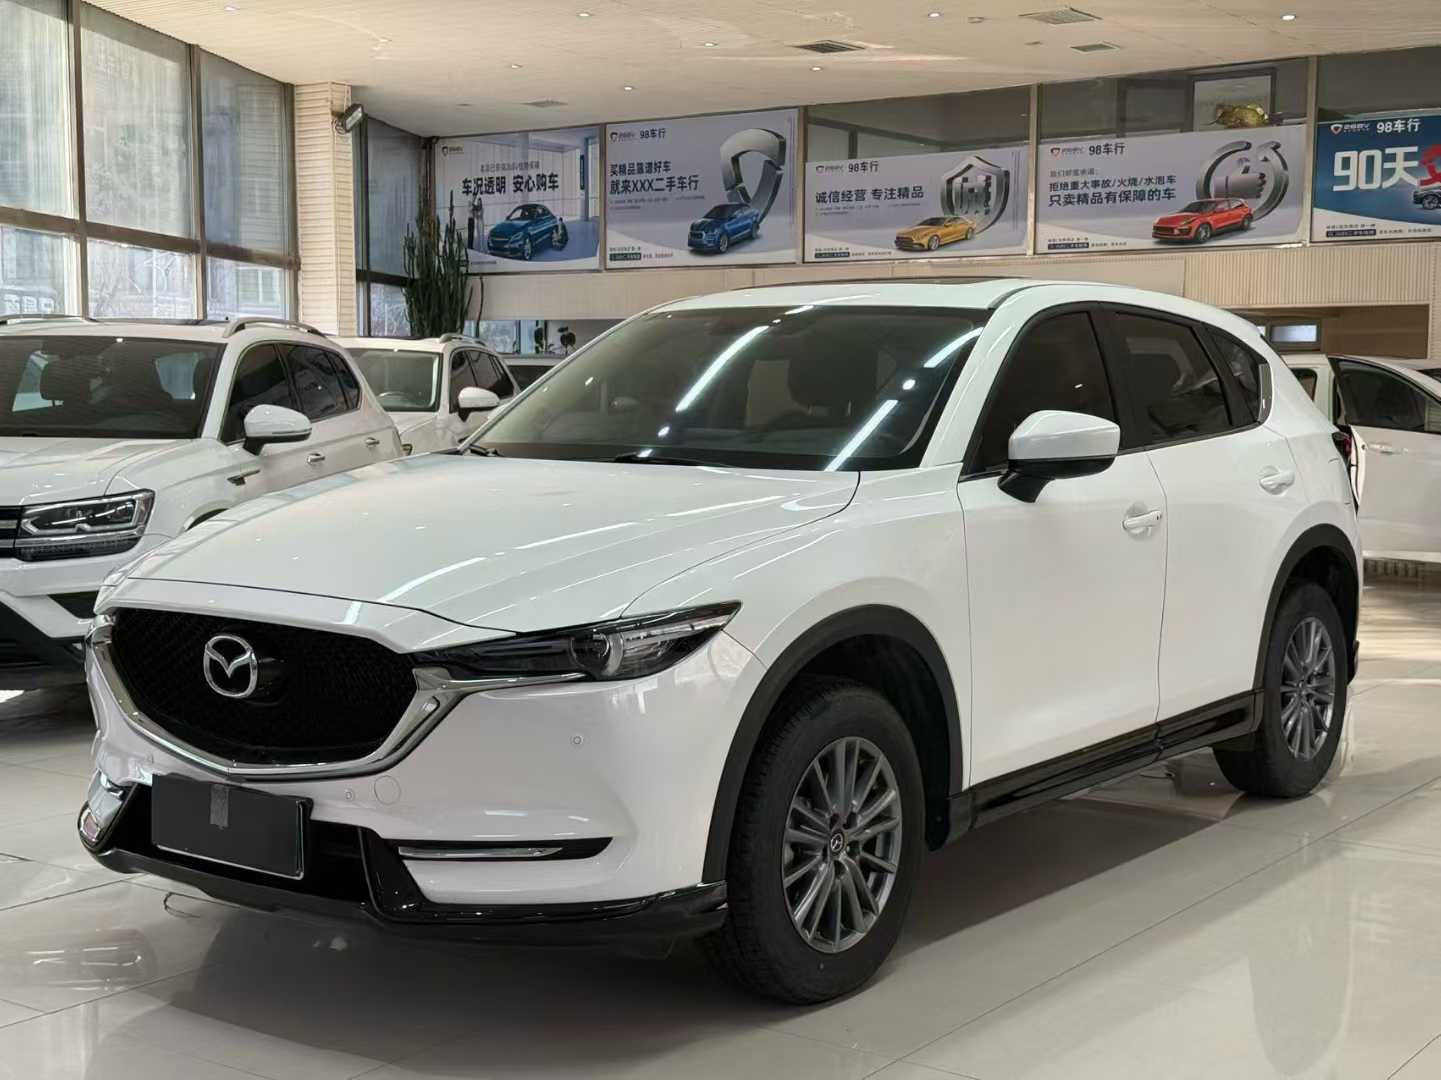
Record the left and right lamp markings, part numbers where accessible, production identity and the vehicle’s relevant equipment. Photograph illuminated functions safely rather than judging from the lens appearance. Ask whether a lamp was replaced after a collision or modified with non-original bulbs. The CX-5 parts compatibility guide explains why production date, modules and connectors matter. Two lamps with similar exterior styling can have different internal functions or market specifications. If the pair does not match, establish whether this is an approved combination or a sign of an unresolved repair.
Get a destination assessment before reserving the car
Provide the workshop or qualified compliance adviser with the exact installed lamp identity and intended destination. Ask about beam suitability, applicable approval evidence and the available lawful remedy if the lamps are unsuitable. Obtain destination compliance advice and a physical beam assessment separately. Do not assume left-hand steering establishes all lighting requirements, and do not confuse driving on the left with the side occupied by the steering wheel. A recognised inspection result for the actual components is more useful than a seller statement that the lights are international specification. Obtain the advice before transport makes replacement harder.
Test aim and functions without diagnosing from a wall photo
A technician should evaluate the fitted lamps with suitable equipment and the vehicle positioned correctly. Check ordinary dipped and main beams and any adaptive or automatic functions that are actually installed. Keep warning indications and diagnostic findings with the report. A photograph on an uneven driveway cannot prove correct aim or regulatory acceptance. Use the ADAS and safety-system checks where lighting functions interact with cameras or sensors. Distinguish a setting adjustment from component incompatibility; changing aim does not necessarily change an unsuitable beam design. Do not defeat automated functions or warning systems to create the appearance of a successful test.
Investigate repaired lenses, mounts and moisture
Look for broken mounting points, improvised repairs, mismatched sealant and damage around the supporting structure. Ask about recurrent moisture and whether the workshop considers the observed condition normal for that lamp or evidence of a fault. Do not treat every small trace of condensation as a failed lamp, but do not dismiss persistent water ingress or impaired illumination. The collision and flood inspection is relevant when lighting repairs occur with surrounding damage. Record accessible wiring and connector condition through safe inspection. A newly polished lens or cleared warning light does not demonstrate a complete repair.
Budget the complete supported replacement
Request the correct lamp number, relevant modules, brackets, installation, configuration and testing costs. Ask which components are included when comparing a bare housing with a complete assembly. A cheap used lamp may require additional parts or have damage not visible in the sales image. Include delivery, returns and warranty terms in the estimate. Obtain the installer’s fitment confirmation before ordering across borders. The repair-budget framework helps separate a confirmed job from a speculative allowance. Avoid using an assumed low lamp price to justify purchase when no supplier or workshop can complete the necessary work at the destination.
Keep acceptance evidence through delivery
Retain identification photographs, the beam assessment, any written destination advice and repair invoices. Record whether the lights were tested before loading and whether damage occurred during transport. A receiver should inspect the pair and document new defects before closing the carrier handover. Use the shipping and arrival guide for this evidence boundary. If a satisfactory legal remedy cannot be confirmed, choose a suitable specification or defer purchase. The objective is reliable, appropriately supported lighting on the intended roads, not merely a pair of lamps that switches on or looks attractive in a listing.
Evidence checklist
- Left/right identity and modification history
- Destination beam and approval assessment
- Measured aim and fitted-function test
- Mount, seal and connector inspection
- Complete replacement and handover evidence
Buyer questions
Can changing beam aim always make an imported lamp suitable?
No. Aim and beam design are different issues; obtain a qualified assessment of the installed lamps and destination requirements.
Does a matching exterior lens prove parts compatibility?
No. Check part identity, production applicability, modules, functions and the supported installation route.
Reference and inspection scope
Use the documentation for the actual vehicle, original market and destination. US references do not establish China-market equipment, enrol an offered VIN in a certification programme or confirm destination approval. Inspection questions are not repair instructions.
Mazda 2025 US owner handbook: lighting and equipment depend on specification
Verify the exact vehicle
Specifications vary by year and market. Match the VIN, vehicle documents, inspection findings and manufacturer service information before purchase.